


I pieced the strips together staggering them each by 2" to minimise wastage when they are cut at 45 degrees. The seams were pressed open to make less bulk when sewn to the quilt sandwich.


The short strips were sewn end to end and the seams pressed open. The binding was then pressed in half and voila! A gorgeous pile of pieced double binding ready to be sewn to my quilt tomorrow.
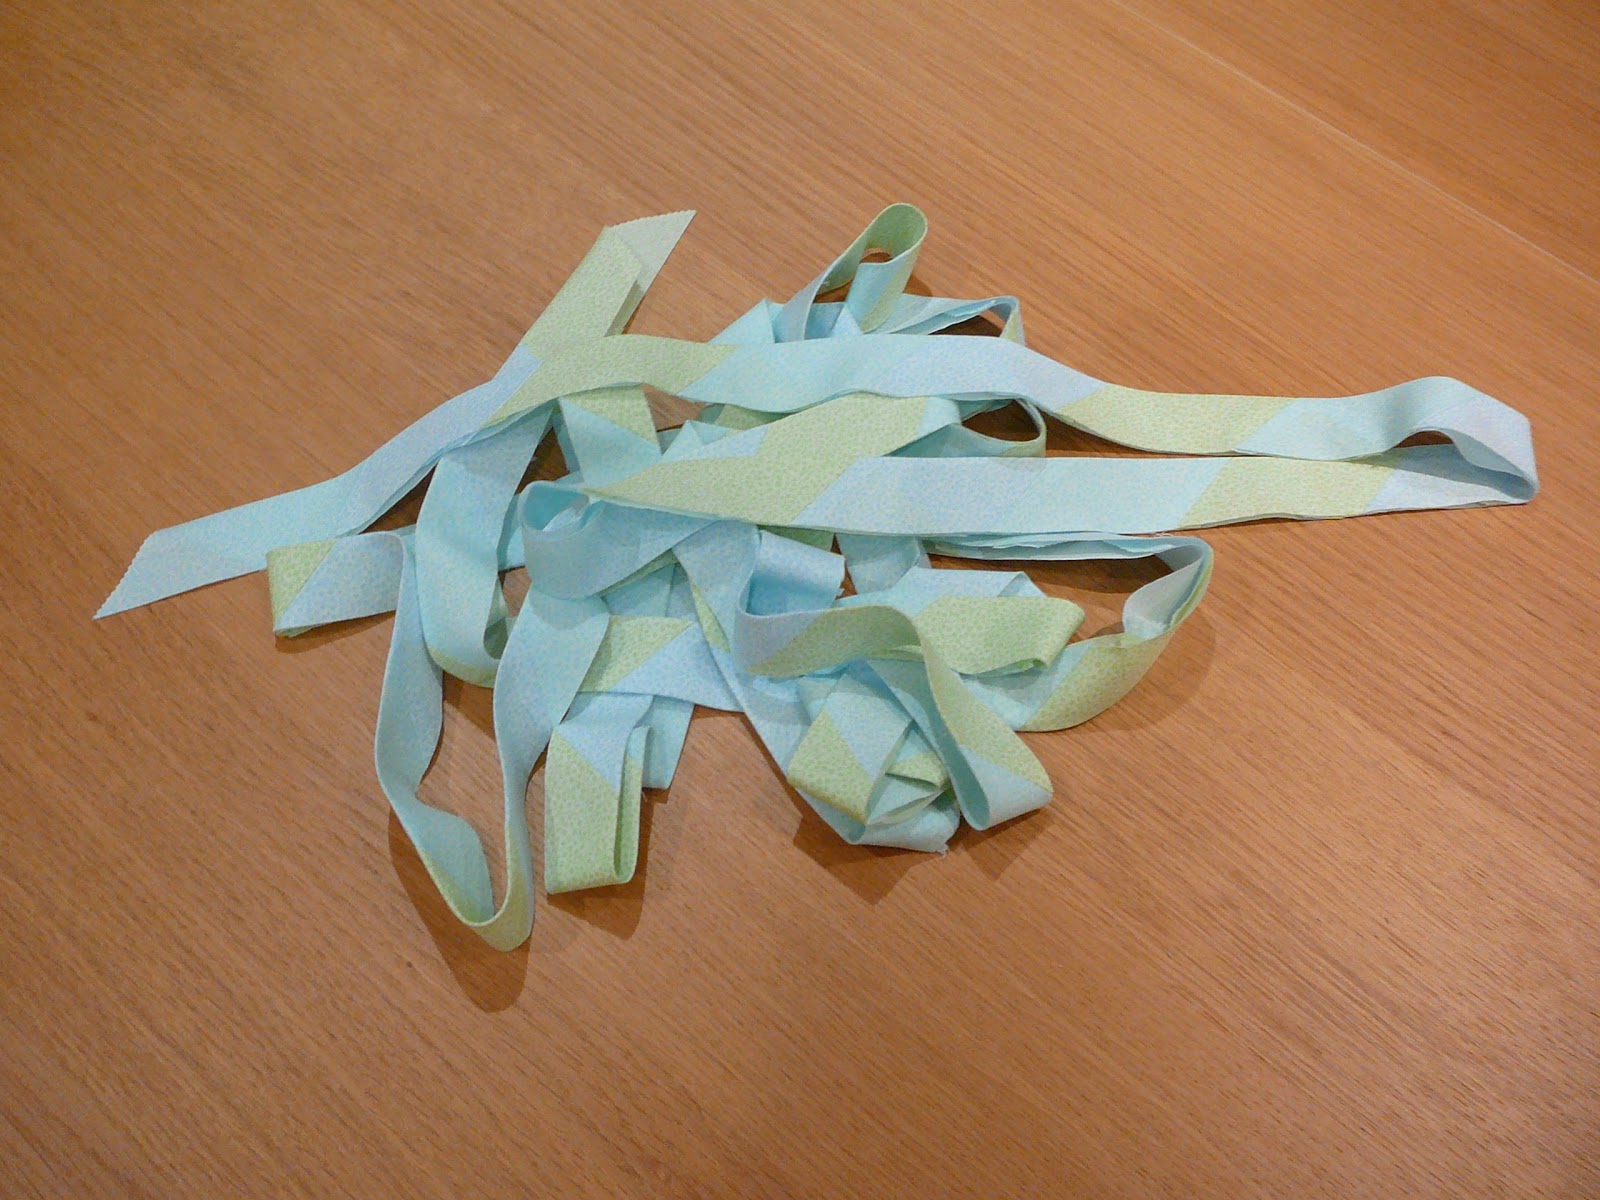
Be careful when you're pressing the binding in half because it is now cut on the bias so it's quite easy to distort the strips. Make sure to press straight down rather than pushing the fabric along the ironing board.
I never even thought of the bulk at the corners, that wouldn't be good. I love how you pieced your binding, can't wait to see it finished!
ReplyDeleteoh! you were *so* close to doing it the easy way! :-) I have a tutorial about making yards of continuous bias from yardage .. or remnants .. but I *also* love making diagonally striped binding from strip sets!
ReplyDeleteMy tutorial is at http://pir8.freeservers.com/quilting/CBT/index.htm There's a PDF version of the tutorial that you can print out for yourself. Basically, make your strip set as you did but don't bother about offsetting the ends. Then use my tutorial and use your strip set as though it was yardage. No annoying separate strips to sew together; no worrying about pressing the seam allowances; everything is nicely assembled for you. Just wait until you cut the one, long, spiral line .. you will absolutely be amazed. :-)
And when it comes time to bind your quilt, I have another tutorial on how to invisibly join the ends of the binding (whether bias or straight of grain) so that the last seam looks *no different* from any other seam in the binding. Easy ... lots of pictures to help you. That tutorial is at http://pir8.freeservers.com/quilting/ending-double-fold-binding/index.htm and there is a PDF for that tutorial also.
Other than that ... I LOVE LOVE LOVE strip set bindings ... they (obviously) match the quilt top perfectly and adds to the dynamics of the look of the quilt.
I was going to do it just like that but I couldn't find my scissors anywhere to cut the spiral so I had to use my rotary to do strips!
ReplyDelete